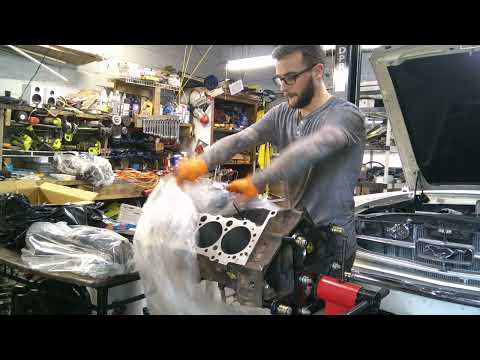
Small Block Chevy 350 Build Pt. 7 | Checking Crank Clearance and installing the rods.
This video shows checking crank/rod bearing clearances (using Plastigauge) and installing the connecting rods onto the crank of a Small Block Chevy 350. The host measures clearances, lubes bearings, torques rod bolts, and rotates the assembly to confirm smooth operation before repeating the process for all rod journals.
Build Sequence
1. Prep the block and components
Clean rod journals, rod bores, rods, and caps thoroughly. Inspect crank journals for damage or scoring and ensure journals are oil-free for measurement.
2. Install rod bearings
Install upper (rod) and lower (cap) bearing shells into the rods and caps, making sure locating tabs and oil holes align and bearing edges are flush with bores.
3. Place Plastigauge on journal
With the cap removed, place a strip of Plastigauge lengthwise on the crank journal where the rod bearing will sit. Do not over-compress the strip; use the width recommended by the Plastigauge instructions.
4. Set rod and cap and torque loosely
Position the rod/piston assembly onto the journal and install the cap. Hand-start rod bolts and snug them, then torque them to a preliminary low value (per spec) to crush the Plastigauge for measurement.
5. Measure bearing clearance
Remove the cap without disturbing the Plastigauge and compare the flattened width to the Plastigauge chart to determine bearing clearance. Record values and verify they're within target range.
6. Clean off Plastigauge and apply assembly lube
Clean all Plastigauge residue from journal and bearings. Apply a liberal coat of assembly lube to the bearing surface and journal.
7. Install rod cap and torque to spec
Install the rod cap with new or inspected bolts. Torque the bolts in stages to the manufacturer's or bolt maker's specified torque (and angle if applicable).
8. Check free rotation and repeat
Rotate the crank by hand through several revolutions, checking that the rod/piston assembly moves freely without binding. Repeat the Plastigauge check and installation process for remaining rods.
9. Final verification and notes
With all rods installed and torqued, do a final walk-around inspection: verify torque on all bolts, ensure no foreign material remains, and confirm smooth rotation and consistent bearing clearances across all journals.
Frequently Asked Questions
Can I reuse the existing rod bolts?
If stock bolts are in good condition and within the manufacturer's reuse specs they may be reused, but many builders replace rod bolts with new aftermarket high-strength bolts (like ARP) because they stretch slightly and are a critical fastener.
VIEW FULL ARTICLE →How does Plastigauge work and is it accurate enough?
Plastigauge is a quick, accurate method to check oil clearance by flattening a calibrated strip between the bearing and journal. It is widely used for assembly checks; however, for final precision measurements, micrometers and bore gauges can verify journal and bearing dimensions.
VIEW FULL ARTICLE →What torque should I use for rod bolts?
Torque values vary by bolt and rod type. Stock bolt specs and ARP bolt torque/angle specs are different—follow the rod or bolt manufacturer's published torque and additional angle requirements. If unsure, consult the bolt maker's instructions rather than guessing.
VIEW FULL ARTICLE →What should I do if a measured clearance is out of spec?
If clearance is too tight or too loose, stop assembly. Options include trying a different bearing size/thickness, machining the crank journals (undersize bearings) or replacing the crank, or changing rod bearings to a different oversize/undersize as appropriate to achieve the correct clearance.
VIEW FULL ARTICLE →What bearing clearance should I aim for on a Small Block Chevy 350?
Typical rod bearing clearance targets are around 0.0015 to 0.0035 inches for street SBC builds, but exact specs depend on the bearing manufacturer's tolerances and crank journal finish. Use the bearing maker's specification as the final authority.
VIEW FULL ARTICLE →Related Builds
 Small Block Chevy 350 Build Pt. 6 | This Is How It's Actually Supposed To Be Done
 Small Block Chevy 350 Build Pt.3 | Filing rings and checking main clearances
 Small Block Chevy 350 Build Pt.5 | Continued frustrations with rod clearances
 Small Block Chevy 350 Build Pt. 11 | Installing the intake manifold and figuring out sbc nuisances
 Small Block Chevy 350 Build Pt. 8 | Installing Camshaft and timing components
 Small Block Chevy 350 Build Pt.1 | Lifting This Engine Without Breaking It
Parts Used (5)
Matched set of 4 or 8 rods depending on short/long block build; price varies by brand and material.
Standard-size rod bearings for SBC 350; ensure correct babbitt/thickness for crank finish.
High-strength replacement rod bolts recommended if using aftermarket rods or for high-performance builds.
Used on bearing surfaces during assembly to protect on initial startup.