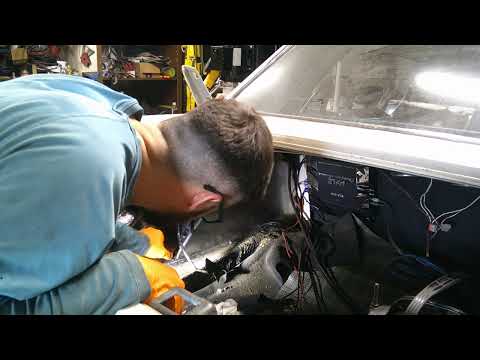
From cuts to custom fender wells on my Mustang Pt 6
This episode covers cutting the factory inner/outer fender areas and fabricating custom fender wells to gain suspension/wheel clearance on a Mustang. The build includes measuring and cutting metal, forming replacement wells from sheet metal, fitting, welding or riveting the new wells, and sealing/finishing the seams before reassembly.
Build Sequence
1. Plan and mock-up
Measure wheel clearance requirements and mock up the new wheelwell shape with cardboard or painter's tape. Confirm suspension travel and tire fitment before cutting any metal.
2. Remove wheel and inner components
Safely lift the car, remove the wheel and any trim, liners, or components obstructing access to the fender area so you have a clear work area.
3. Mark and cut the factory fender
Use the templates to mark the cut lines on the outer and/or inner fender. Cut carefully with an angle grinder or reciprocating saw, paying attention to wiring and brake lines behind panels.
4. Remove spot welds and prep edges
Drill out spot welds or grind flanges to fully separate the factory panels where needed. Clean and square the cut edges to prepare for new metal.
5. Fabricate replacement wheelwell panels
Transfer templates to mild steel and cut panels slightly oversized. Use hammer/dolly and bending/forming tools to shape the panels to match the wheelwell contour.
6. Test fit and refine
Clamp the fabricated panels in place and check clearances with the wheel and suspension at full travel. Trim and adjust the panels until fitment is correct.
7. Attach panels (weld or rivet)
Permanently attach the new wells by welding where possible or using structural rivets/pop rivets in conjunction with seam sealer. Tack welds first, then finish welds and grind smooth.
8. Finish seams and protect
Apply body filler to smooth transitions if necessary, then primer the bare metal. Apply seam sealer and underbody coating to protect the new wheelwell from corrosion and debris.
9. Reinstall liners and reassemble
Install the trim-to-fit liner, reattach any removed components, remount the wheel, and lower the car. Do a final clearance check and road test.
Frequently Asked Questions
Will cutting the fender wells affect structural integrity?
If you remove factory structural seams you can affect rigidity. The typical approach is to reinforce the area with welded panels or proper fasteners and seam sealer; doing the job with solid welds and proper metal backing restores strength. If unsure, keep reinforcement pieces and practice proper welding techniques.
VIEW FULL ARTICLE →Do I need a welder or can I use rivets?
You can use rivets or a combination of welds and rivets. Welding provides the strongest, most permanent bond, but rivets are acceptable for non-structural sections or if you lack welding tools. Seal any riveted seams against moisture.
VIEW FULL ARTICLE →How much wheel/tire clearance gain can I expect?
The clearance gained depends on how much metal you remove and how the new well is formed; typical gains range from a fraction of an inch to several inches depending on the cut and fabrication. Measure against intended tire and suspension travel before finalizing cuts.
VIEW FULL ARTICLE →What safety precautions are important?
Wear eye and hearing protection, gloves, and a respirator when grinding or welding. Support the vehicle securely on jack stands, disconnect the battery before welding near wiring, and shield brake lines and components from heat.
VIEW FULL ARTICLE →Related Builds
 From cuts to custom fender wells on my Mustang - FINAL
 From cuts to custom fender wells on my Mustang pt 2
 From cuts to custom fender wells on my Mustang Pt 4
 From cuts to custom fender wells on my Mustang Pt 5
 From cuts to custom fender wells on my Mustang
 From cuts to custom fender wells on my Mustang part 3
Parts Used (9)
Used to smooth any small gaps or finish the transition between panels before primer.
Consumable for welding the fabricated panels where the installer chooses to weld seams.
Primary material for fabricating the custom fender well panels; sized to the wheelwell shape.
Plastic liner used inside the fabricated well to protect from road debris and finish the area.
Used to temporarily or permanently attach liners and panels where welding isn't used.
Protects bare metal and prepares surface for paint/undercoating.
Protects the finished wheelwell from stone chips and corrosion.