This video shows diagnosing and repairing a leaking door seal on an F-150 by removing the door trim, replacing or reseating the door weatherstrip, cleaning the seal channel, and using adhesive where needed. It includes tips for inspecting alignment and testing for leaks after reassembly.
Build Sequence
1. Inspect leak location and test
Identify where water is coming in. With the window closed and door shut, run water (hose or pour) over the suspected area while an assistant watches inside. Mark exact entry points and check for gaps, torn weatherstrip, or misalignment.
2. Remove interior door panel
Use trim tools and screwdrivers to remove door handle bezels, screws, and plastic clips securing the door card. Carefully lift the panel off and disconnect any electrical connectors for switches. Store clips and screws in a container.
3. Remove old weatherstrip and inspect flange
Peel back or cut out the old seal. Use a heat gun if it’s brittle to help remove it in one piece. Inspect the door flange and mating surface for corrosion, old adhesive, or bent metal that could prevent a tight seal.
4. Clean sealing surface
Thoroughly clean the channel and flange where the seal mounts using isopropyl alcohol and rags to remove old adhesive, dirt, and oil. Ensure the surface is dry and free of debris to promote good adhesion.
5. Test fit new weatherstrip
Dry-fit the new seal around the door to confirm length and fit, trimming any excess with a utility knife or scissors. Check corners and bends and pre-form with gentle heat if necessary.
6. Apply adhesive and install new seal
Apply weatherstrip adhesive according to product instructions to both the flange and seal if required. Press the seal into place firmly, working around the door and ensuring proper seating at corners. Use clamps or tape to hold sections while adhesive cures.
7. Adjust door alignment / striker (if needed)
If leaks were caused by misalignment, loosen the hinge or striker bolts slightly, realign the door for even gaps, and retighten to spec. This step may require measuring gaps and multiple test closings.
8. Reinstall door panel and test for leaks
Reconnect electrical connectors and reinstall the door card and trim clips. Once adhesive has cured per instructions, perform a water test again to confirm the leak is resolved. Make minor adjustments if any seepage remains.
Frequently Asked Questions
Do I need to remove the door panel to replace the weatherstrip?
Usually yes — removing the interior panel gives better access to the seal mounting points, allows replacement of any broken clips, and lets you inspect the flange behind the panel. In some cases you can reseat or glue sections without full removal, but panel removal is recommended for a thorough job.
VIEW FULL ARTICLE →Can I use silicone sealant instead of weatherstrip adhesive?
Silicone is not recommended for bonding weatherstrip long-term because it doesn’t provide the same flexible bond and can interfere with future replacements. Use a dedicated weatherstrip adhesive (like 3M Weatherstrip Adhesive) for best results.
VIEW FULL ARTICLE →How long does a replacement door seal last?
A quality OEM or aftermarket seal properly installed and cared for can last many years (5–10+), depending on climate and exposure. UV, road chemicals, and repeated door impacts shorten life; periodic cleaning and conditioning help longevity.
VIEW FULL ARTICLE →What if new weatherstrip still leaks at the corners?
Corners are common trouble spots. Ensure the seal is properly trimmed and seated, use heat to form corners if needed, and apply adhesive liberally at corner transitions. If leaks persist, check for underlying rust, bent flange, or misalignment and address those issues.
VIEW FULL ARTICLE →How do I know if the leak is caused by the seal or door alignment?
Perform a water test and observe where water enters. If the seal is intact but water passes through a gap between door and body, alignment or a bent striker/hinge is likely the issue. Visible damage, cracking, or compression of the seal indicates the seal itself is the problem.
VIEW FULL ARTICLE →Related Builds
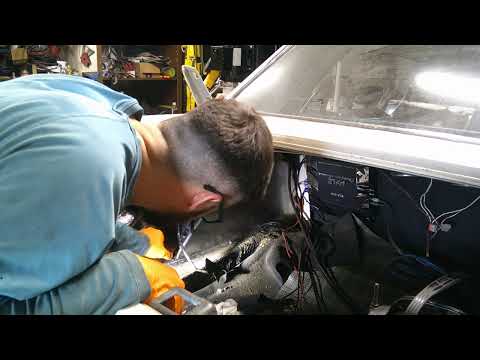 From cuts to custom fender wells on my Mustang - FINAL
 From cuts to custom fender wells on my Mustang Pt 6
 From cuts to custom fender wells on my Mustang pt 2
 From cuts to custom fender wells on my Mustang Pt 4
 From cuts to custom fender wells on my Mustang Pt 5
 From cuts to custom fender wells on my Mustang
Parts Used (4)
Full-door replacement weatherstrip; price varies by year and cab configuration. Can be purchased OEM or aftermarket.
Used to bond new or loose sections of weatherstrip to the door flange. Allow proper cure time.
Replacement plastic clips for the inner door card; useful if original clips break during removal.
Cleaning solvent for seal channel and mating surfaces before adhesive application.