Small Block Chevy 350 Build Pt. 10 | Checking out a new intake and talking about things left to do
This episode inspects a newly acquired intake manifold for a Small Block Chevy 350 and reviews the remaining tasks to finish the short-block/build. Zach walks through fitment, what needs to be completed (gaskets, carb/throttle-body, sensors, plumbing, and final assembly) and outlines next steps before startup.
Build Sequence
1. Unbox and visually inspect the new intake
Remove the intake from packaging and check for defects, casting flash, cracks, or missing bolt bosses. Verify bolt pattern and port alignment for SBC 350 heads.
2. Dry-fit intake to heads
Place the intake on the cylinder heads without gaskets to check fitment, alignment of bolt holes, coolant crossover passages and clearance to valve covers/accessories.
3. Inspect and port-match as needed
Inspect intake and head ports for mismatches or casting ridges. Light port matching or blending may be performed to improve flow and ensure gasket seating.
4. Prepare mating surfaces and parts
Thoroughly clean the head and intake mating surfaces with solvent, remove old gasket material, and gather new gaskets, bolts and sealant.
5. Install intake gaskets and set intake
Place the intake gaskets in position and set the intake onto the heads. Hand-start all intake bolts to ensure proper alignment.
6. Torque intake bolts to spec in correct sequence
Using a torque wrench, tighten bolts in the manufacturer-specified sequence and to the specified torque values. If applicable, torque in stages.
7. Install carburetor or throttle body and associated gaskets
Mount the carburetor or throttle body, install linkage, choke components and any spacers or adapters. Attach vacuum lines and sensors as required.
8. Connect coolant crossover, vacuum lines and accessories
Reconnect coolant passages (if intake has thermostat housing or crossover), hook up PCV and vacuum lines, and reinstall any intake-adjacent accessories and sensors.
9. Final checks and prep for initial startup
Verify all fasteners, check for clearance to valve covers and accessories, ensure correct fuel and vacuum routing, fill coolant and prime fuel system as needed before attempting first start.
Frequently Asked Questions
What else is left to finish the build after installing the intake?
Remaining tasks usually include installing the carburetor or throttle body, connecting fuel and vacuum lines, hooking up coolant crossovers/thermostat housing, installing sensors and accessories, checking clearances, and prepping for initial startup and break-in procedures.
VIEW FULL ARTICLE →What torque spec should I use for intake bolts?
Torque specs vary by intake and head material. Typical torque for many SBC intake bolts ranges from 18–25 ft-lbs; consult the intake manufacturer's spec or a torque chart for your head material. Always use the specified torque sequence and torque in stages.
VIEW FULL ARTICLE →Related Builds
 This 65 Mustang Keeps Throwing Curveballs
 Small Block Chevy 350 Build Pt. 6 | This Is How It's Actually Supposed To Be Done
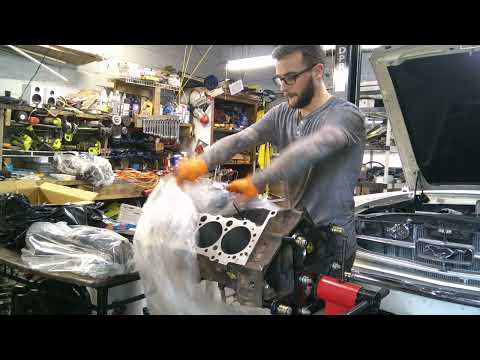 Small Block Chevy 350 Build Pt.3 | Filing rings and checking main clearances
 Cub Cadet Ultima Z2 54 5 hour +some maintenance video
 Small Block Chevy 350 Build Pt.5 | Continued frustrations with rod clearances
 Small Block Chevy 350 Build Pt. 11 | Installing the intake manifold and figuring out sbc nuisances
Parts Used (5)
New intake shown in video; specific brand/part number not stated. Typical aftermarket SBC intake price used for estimate.
Full gasket set for intake-to-head and associated seals. Exact kit not specified.
Video discusses needing to install a carb or TB — part shown/installed later in the build. Cost estimated for a moderate aftermarket carburetor.
Small tube used for specific sealing locations; included as a common consumable.