The video documents a garage lighting update where the creator replaces/installs new LED shop lights and related electrical hardware to improve brightness and layout. The build covers planning the layout, shutting off power, removing old fixtures, mounting new fixtures, wiring connections, and testing the new lights.
Build Sequence
1. Plan layout and purchase materials
Measure the garage ceiling and sketch the intended light layout, spacing fixtures for even coverage. Determine number of fixtures and length of wire needed, and purchase parts and mounting hardware.
2. Turn off power and verify
Shut off the circuit breaker feeding the garage lighting. Use a voltage tester or non-contact detector to confirm power is off at the existing fixtures and switch before starting work.
3. Remove old fixtures and prepare mounting points
Take down existing lights or fixtures, cap and secure any exposed wiring. Mark and install anchors or secure mounting brackets at planned fixture locations on the ceiling or joists.
4. Run wiring between fixtures and switch
Run Romex or conduit between fixture locations and to the switch/junction box following the planned route. Staple cable to framing as needed and leave enough slack for connections.
5. Mount fixtures and make electrical connections
Secure LED fixtures to the mounting brackets or directly to the ceiling. Make hot, neutral, and ground connections using wire nuts in a junction box or the fixture's wiring compartment, following correct color coding.
6. Install switch or motion sensor and test
Install the new switch or motion sensor in the wall box, connect wires, replace the cover, and restore power at the breaker. Test the lights for proper operation and troubleshoot any flicker or non-functioning fixtures.
7. Finalize and clean up
Secure any loose wiring, label breakers as needed, tidy up tools and leftover materials, and adjust fixture positions or aim if necessary for best illumination.
Frequently Asked Questions
Can I replace existing fluorescent fixtures with integrated LED fixtures?
Yes; integrated LED shop lights are commonly used to replace older fluorescents, but check whether ballast removal or rewiring is needed if converting existing fixtures. The video installs new LED fixtures and connects them directly to line voltage.
VIEW FULL ARTICLE →Related Builds
 Basic dash build and small rewire of my 65 Mustang
 Part 2 of the solar mount project, 1/2 way done with help from a friend!
 I Tried Making a Gauge Cluster PT. 2
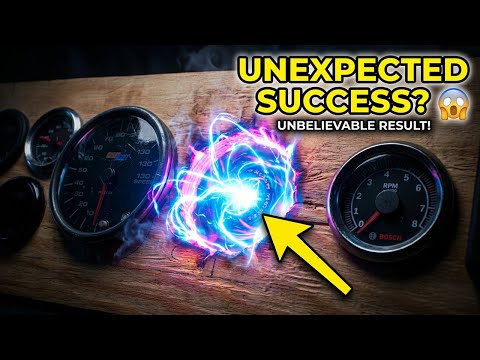 I Tried Making a Gauge Cluster and Didn't Expect This
 Running a tailgate reverse camera and an amp positive wire in a 2017 Chevy Silverado WT
 Successfully running an old UPS off solar!
Parts Used (7)
Estimated cost assumes four integrated LED shop fixtures at about $50 each; exact model/brand not specified in the video.
Used to control the new lights; could be replaced with a smart or motion switch.
Optional upgrade shown/mentioned for automatic lighting.
Assorted fasteners for mounting fixtures to ceiling/joists.