Driveshaft build failure but heres how I tried to succeed
This video documents an attempted custom driveshaft build that ultimately failed, walking through the planning, fabrication, assembly, testing, and post-failure analysis. The creator highlights measurement, material selection, welding and balancing steps, what went wrong, and lessons learned for anyone attempting a custom driveshaft.
Build Sequence
1. Planning and measurement
Measure vehicle driveline dimensions, determine required shaft length, spline counts, yoke types, and material specifications. Sketch design and list parts and tooling required.
2. Material selection and procurement
Select appropriate driveshaft tube (diameter and wall thickness), purchase yokes, U-joints, bolts, and balancing supplies. Verify fitment of slip yoke and flange to transmission and differential.
3. Cutting and facing the tube
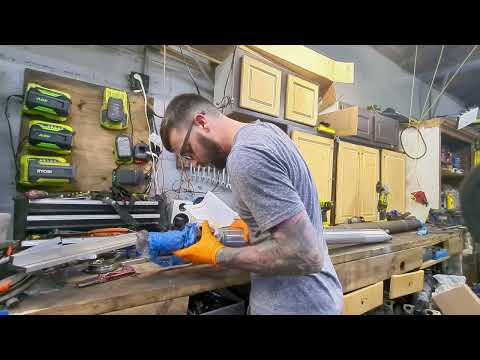
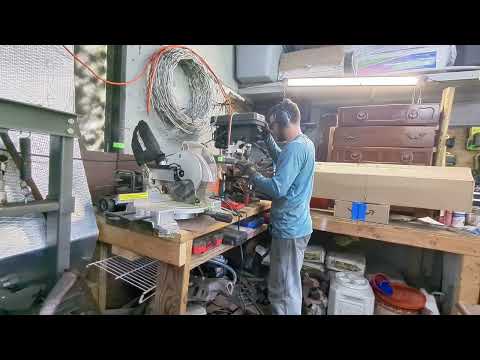
Cut the driveshaft tube to exact length, face tube ends square, and prepare surfaces for welding and machining. Use lathe or saws with jigs to maintain concentricity.
4. Machine yokes and fitment
Machine yoke bores and shafts as needed on the lathe, check for press-fit tolerances, and trial-fit U-joints and slip yoke. Ensure alignment and minimal runout before final welding.
5. Welding and assembly
Tack-weld then fully weld yokes to the tube while monitoring heat to avoid warping. Install U-joints, secure flanged connections, and torque fasteners to spec.
6. Balancing and vibration check
Dynamically balance the completed driveshaft on a balancing machine (or send to a shop). Add weights or correct machining until acceptable balance and runout are achieved.
7. Installation and road testing
Install the driveshaft in the vehicle, torque all bolts, check driveline angles, and perform cautious road tests at increasing speeds to check for vibration or noises.
8. Failure analysis and lessons learned
After the build failed, inspect fracture points, welds, fasteners, balance, and material defects. Document root causes and plan design or process changes for a retry (better balancing, different welding technique, or different materials).
Frequently Asked Questions
What welding precautions are important?
Use the proper welding process for the material (MIG or TIG as appropriate), control heat input to avoid warping, tack in multiple locations, and ensure full penetration and good weld profiles. Poor welds were highlighted as a likely contributor to failure.
VIEW FULL ARTICLE →What caused the driveshaft build to fail?
While the exact cause depends on inspection, common causes shown and discussed include poor weld quality/penetration, improper material or tube wall thickness, incorrect fitment/clearance at yokes, and inadequate dynamic balancing leading to vibration and fatigue.
VIEW FULL ARTICLE →What would I do differently on a retry?
The creator recommends more rigorous measurement and machining for concentricity, professional dynamic balancing, choosing appropriate tube material and wall thickness, improving welding technique or outsourcing welds, and double-checking driveline angles.
VIEW FULL ARTICLE →Can I reuse stock U-joints and flanges from another shaft?
You can reuse components if they are in good condition and match the splines/bolt patterns, but reused parts should be inspected for wear and replaced if there's any doubt. Proper fit and condition affect balance and longevity.
VIEW FULL ARTICLE →



Parts Used (7)
Grade and torque spec matter; improper fasteners can lead to failure.
Primary shaft material—length and wall thickness chosen based on application; material selection and straightness are critical.
Connects transmission output to driveshaft; must match spline count and diameter of transmission.
Typically greasable U-joints used at each end; quality and fitment affect longevity and vibration.
Connected to the differential or pinion flange; must be machined or chosen for proper bolt pattern and concentricity.
Used for two-piece shafts; bearing condition and mounting affect alignment and vibration.
Used during dynamic balancing to reduce vibration; placement is critical.